|
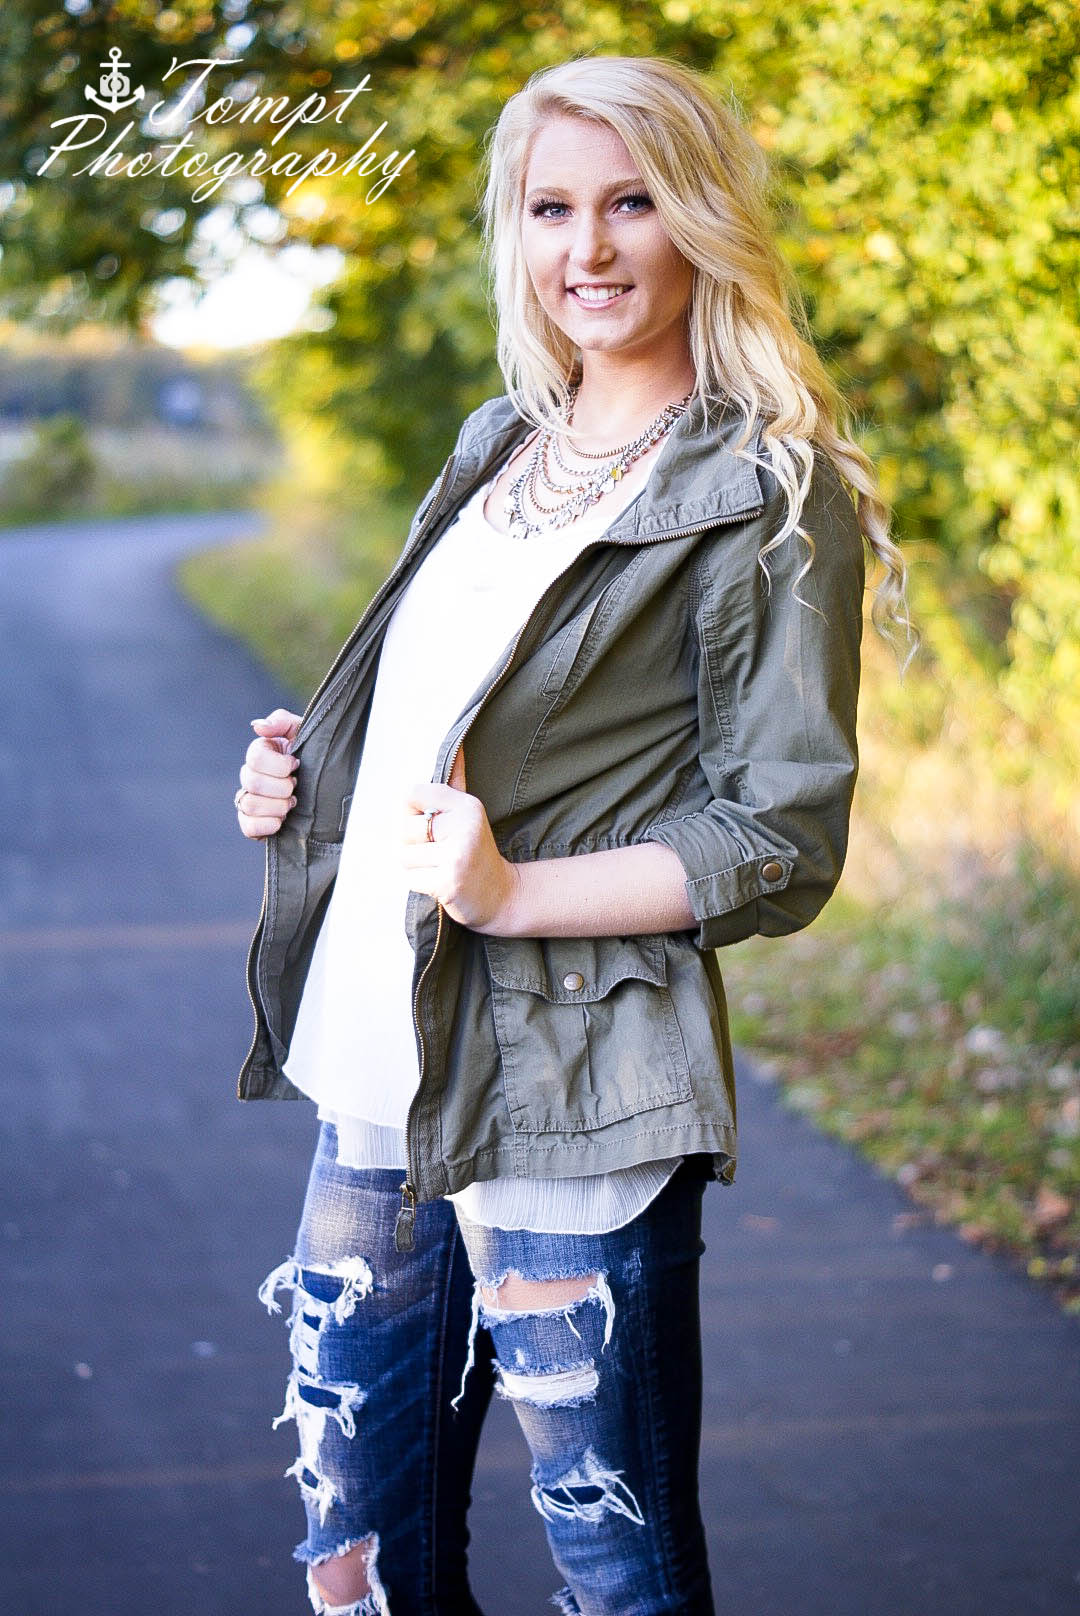
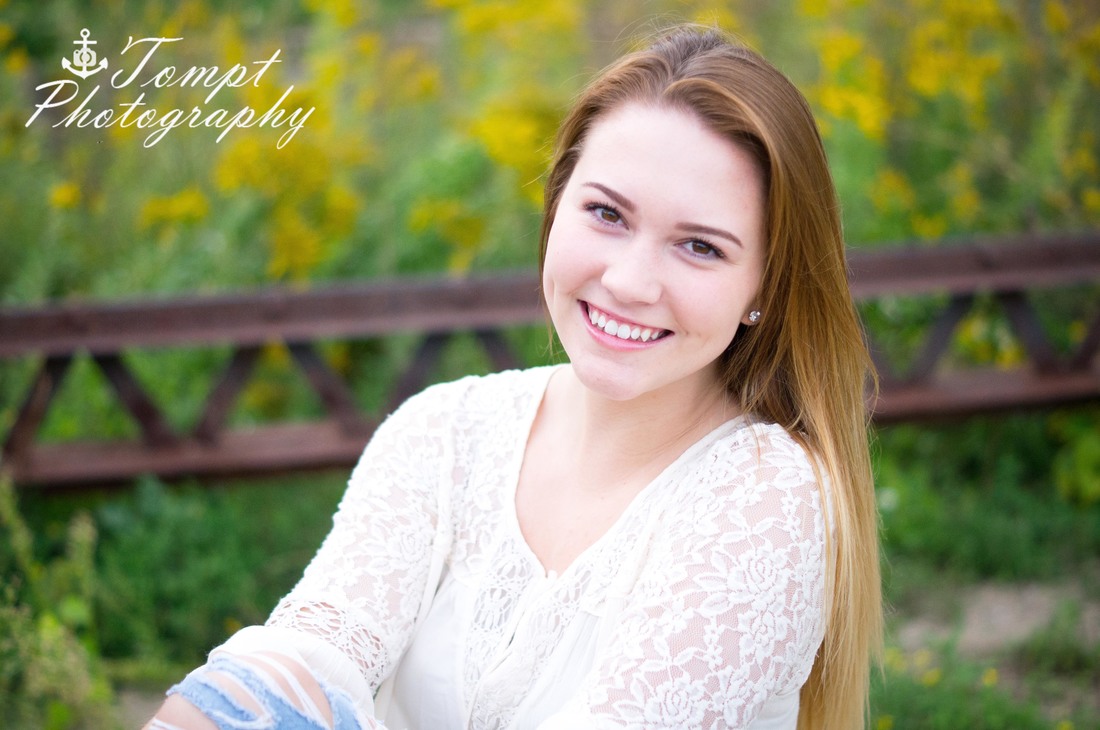
It’s all about LOCATION! OK… it is not ALL about location - there are so many things that go into great photography and location just happens to be one of them. I guarantee we would get great pictures at ANY location we choose, however, I thought I would write about some of my favorite locations to photograph. Fish Lake Park – Maple Grove, MN Fish Lake Park is one of my favorite places for a photo shoot…especially in the fall. It has everything you could ask for – a lake, sand, rocks, steps, trails, a bridge, and trees (with beautiful colors in the Fall). If you are going for more of an Urban feel, then this is not the location for you – but if you want the things I just listed, it’s perfect. Even though I love Fish Lake Park – I am always open to trying new parks and locations!
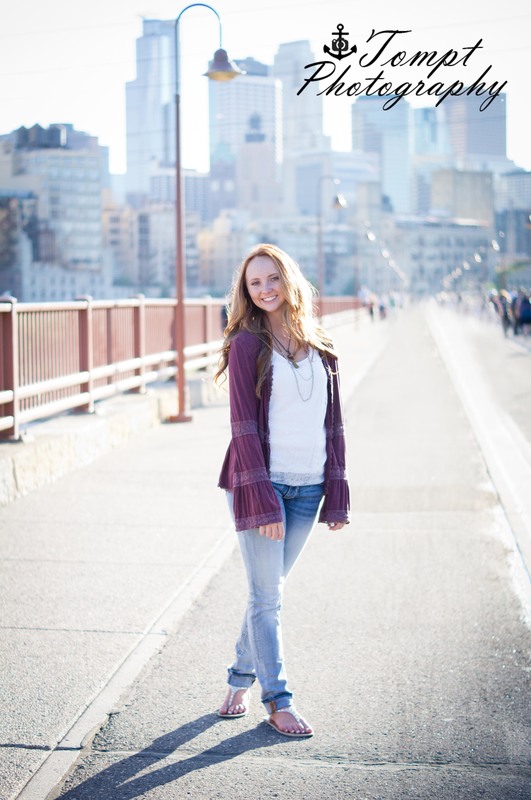
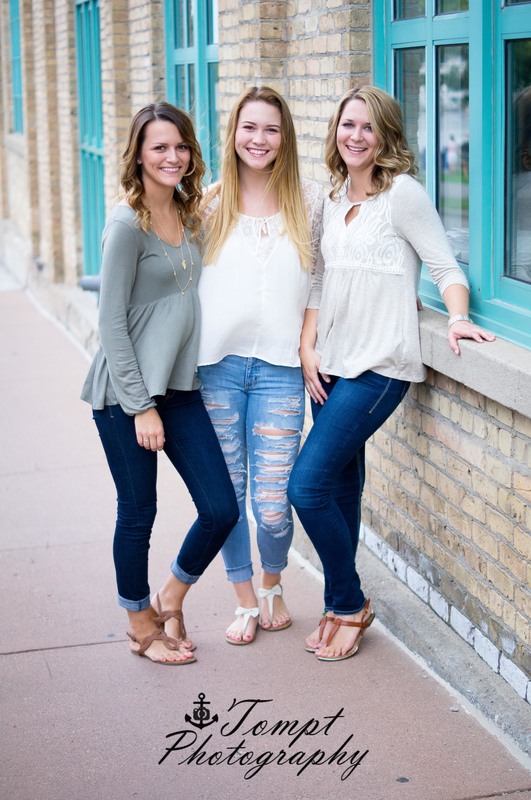
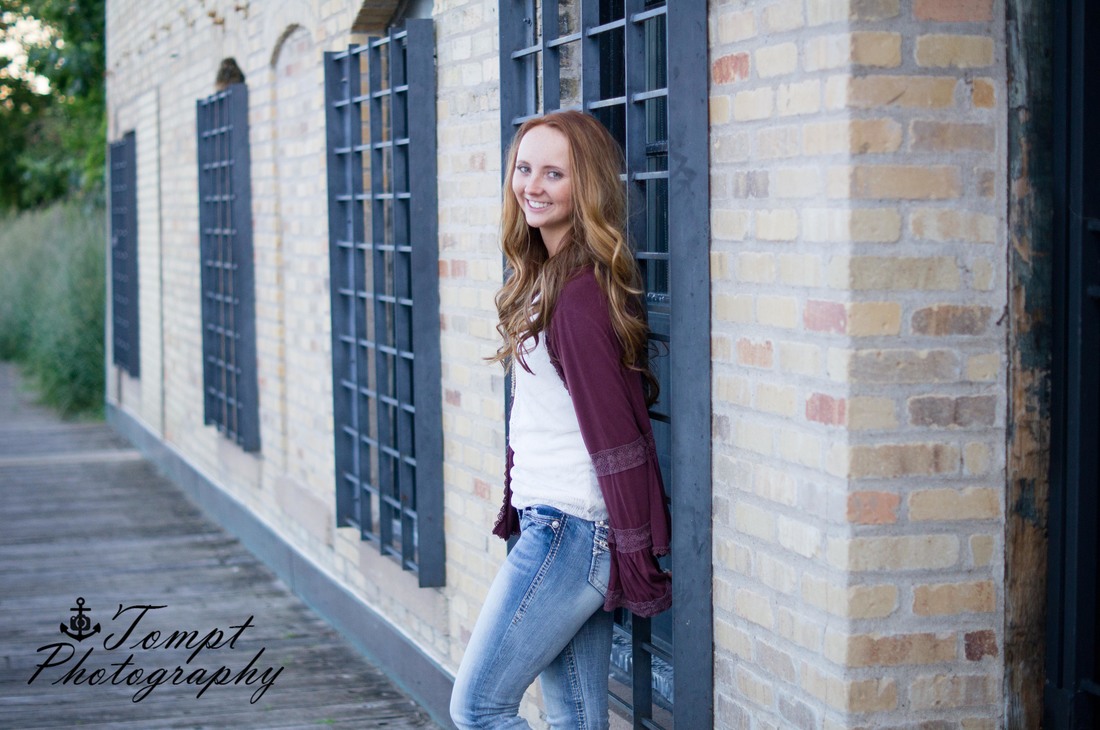
Stone Arch Bridge/Saint Anthony Main area – Minneapolis, MN The Stone Arch Bridge/Saint Anthony Main area is another one of my favorite places for photo shoots. This is the option to choose if you want an Urban feel to your images with buildings and rustic elements. The only downside to this area is it is highly popular and gets crowded by other photographers and photo sessions at times. Still…. a great option and easy to work around the crowds!
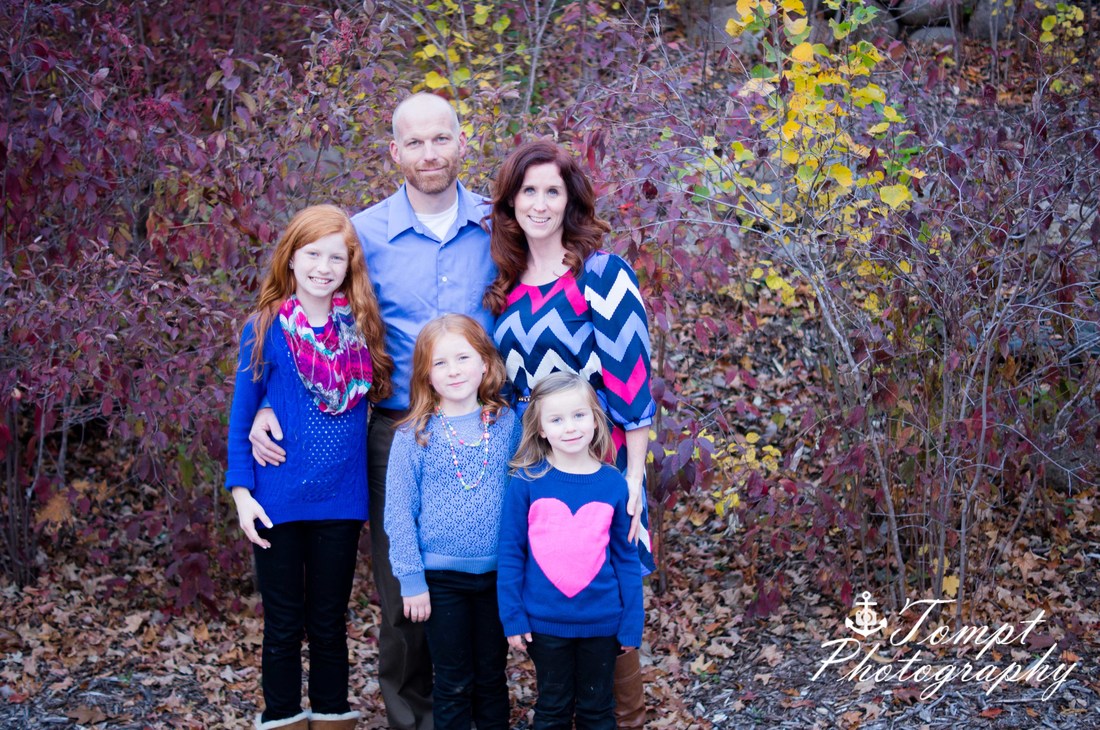
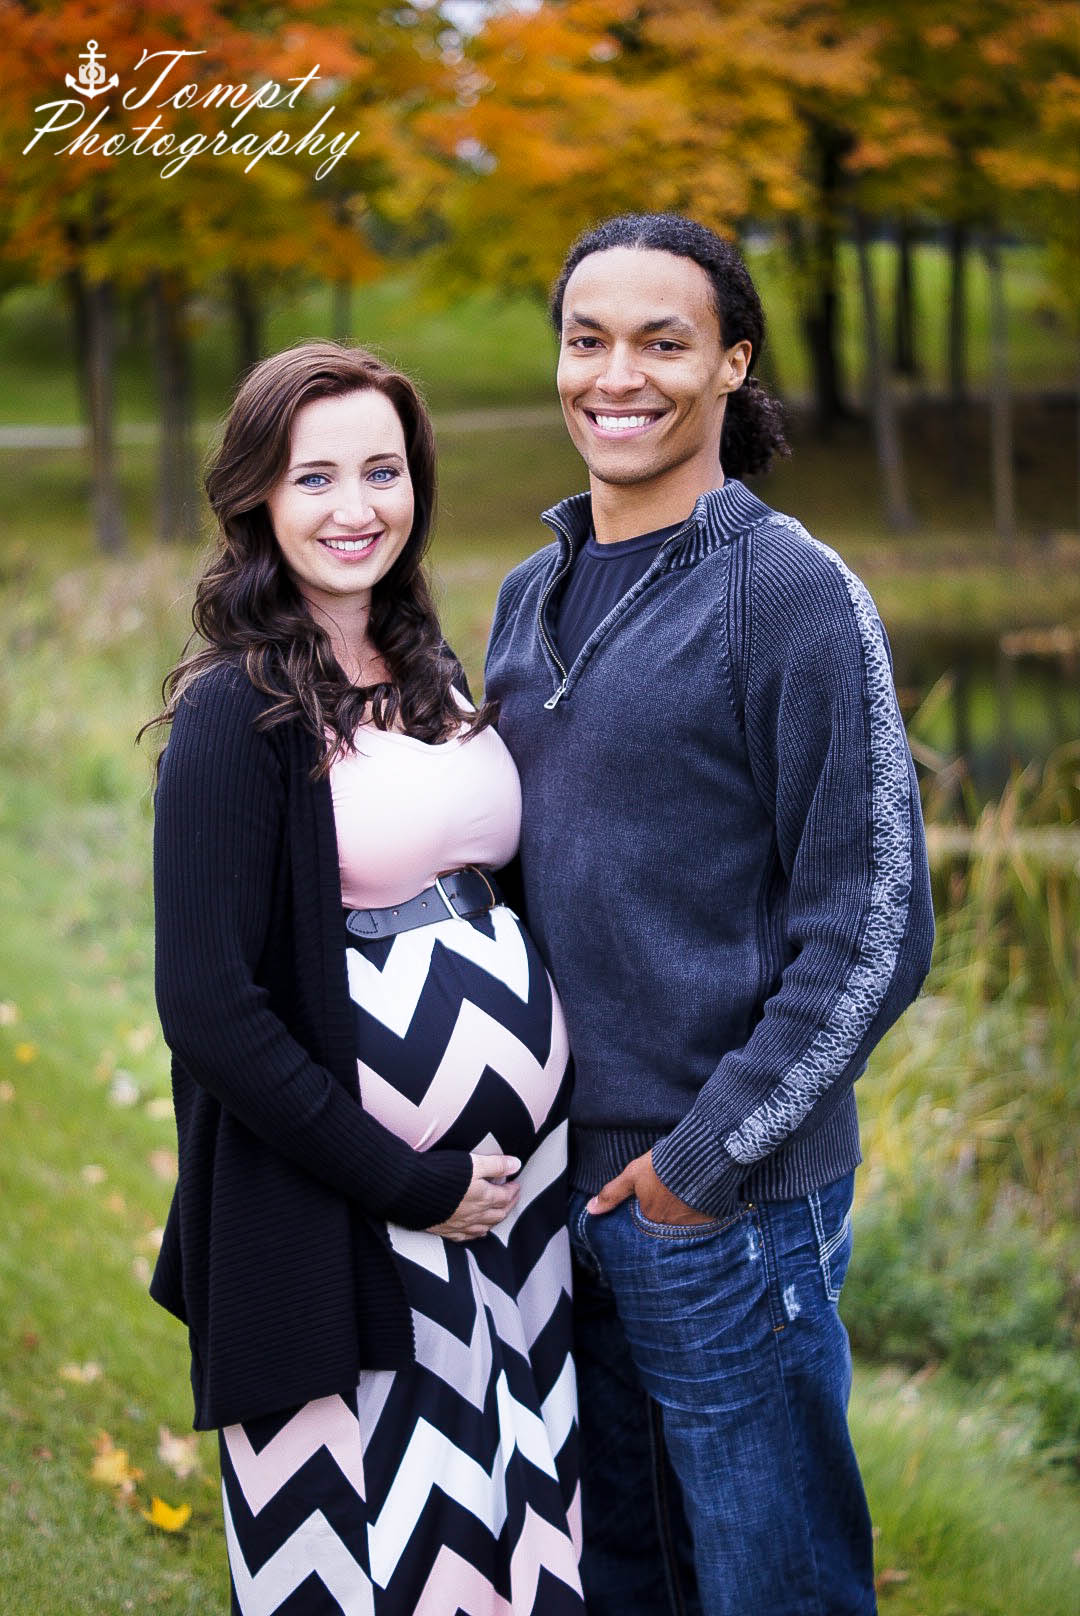
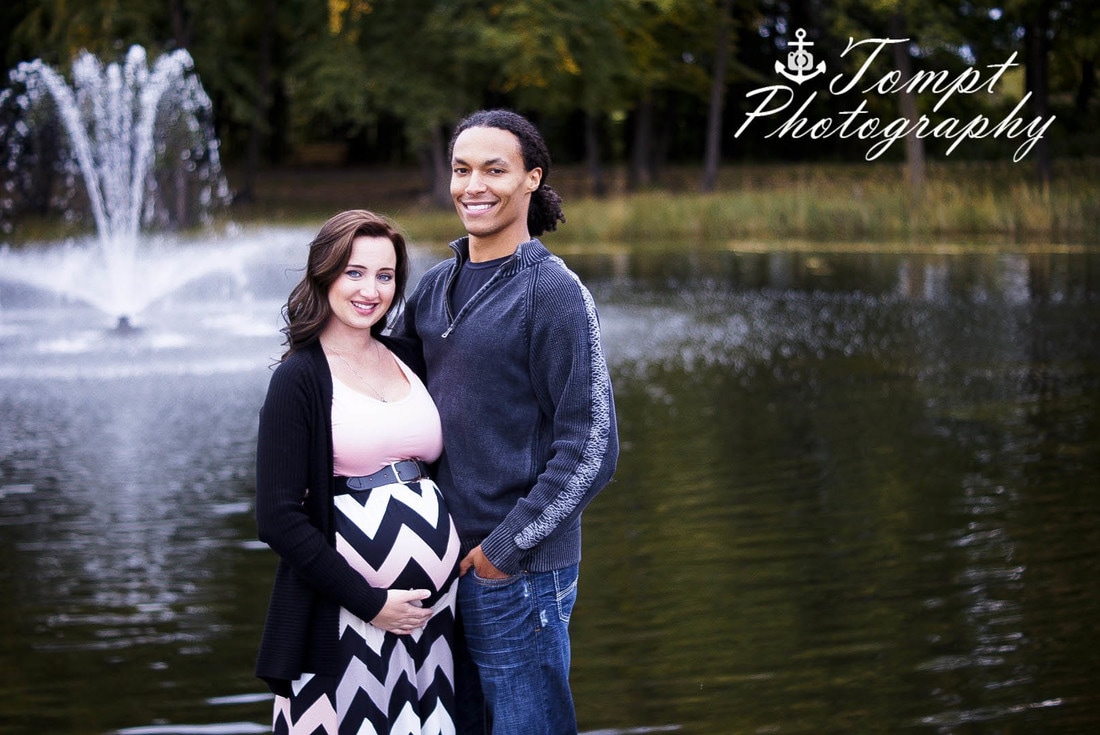
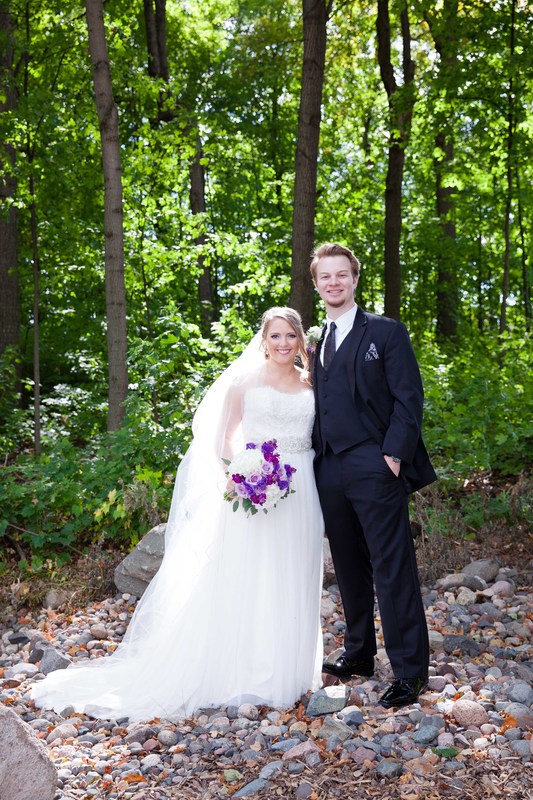
Hilde Performance Center – Plymouth, MN The Hilde Performance Center in Plymouth is a bit of a hidden gem. We actually took some of my wedding pictures at this location and I have also done a maternity photoshoot here. There is a fountain area with some foliage and a nice pond with a fountain in it. If you walk far enough through the trails, there is a also a nice bridge that leads to the Millennium Gardens at Plymouth Creek Center. This is a great low-key area for a photoshoot and it produces some great images!
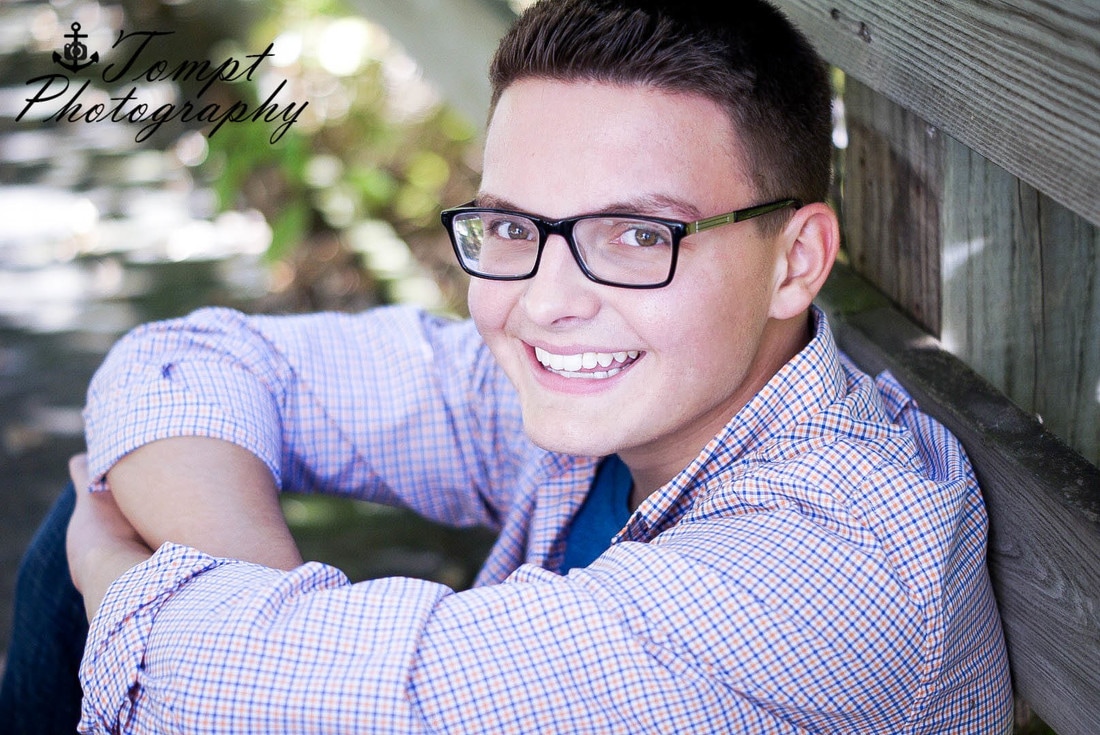
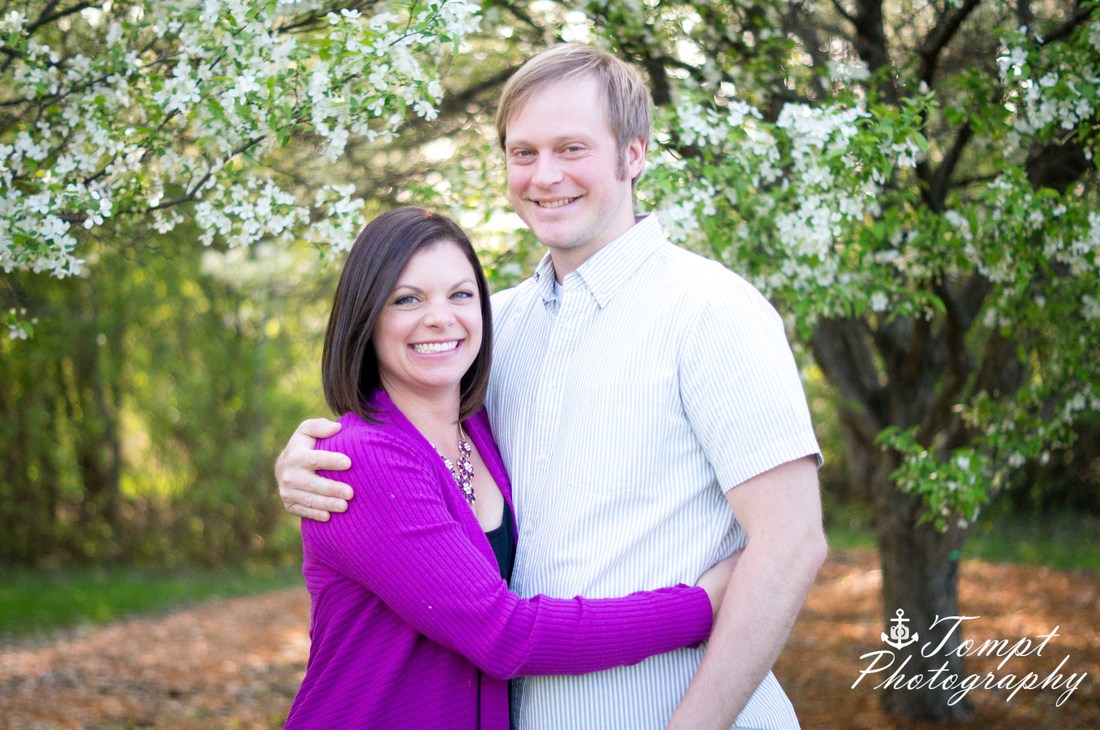
Rosland Park – Edina, MN Rosland Park is an interesting location hidden right next to the highway of 62 and France Ave. The location is great for spring and late fall. In the spring, the trees bud some beautiful flowers and in the late fall, there are some great cattail type weeds and other colors.
Other great locations for photoshoots: Coon Rapids Dam, Lake Riley Park (Eden Prairie), Rustica (Eden Prairie)
0 Comments
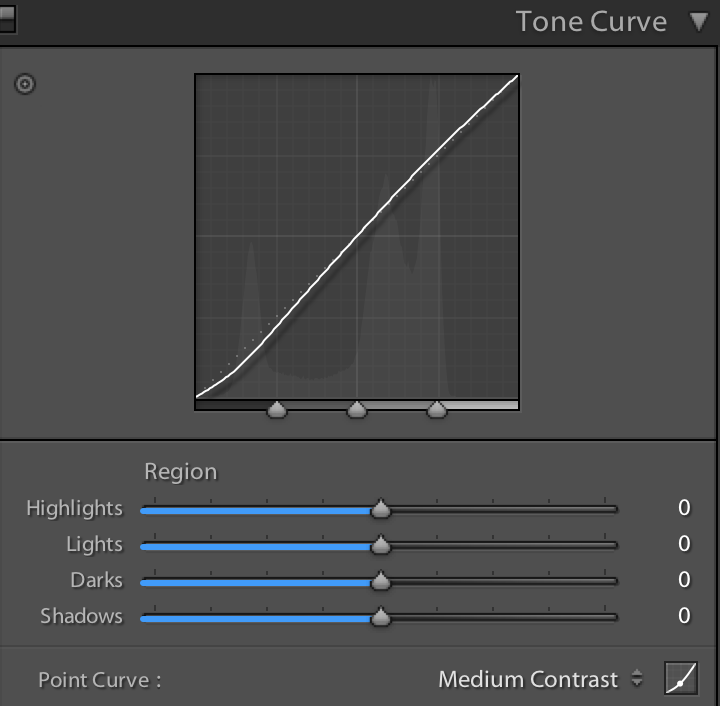
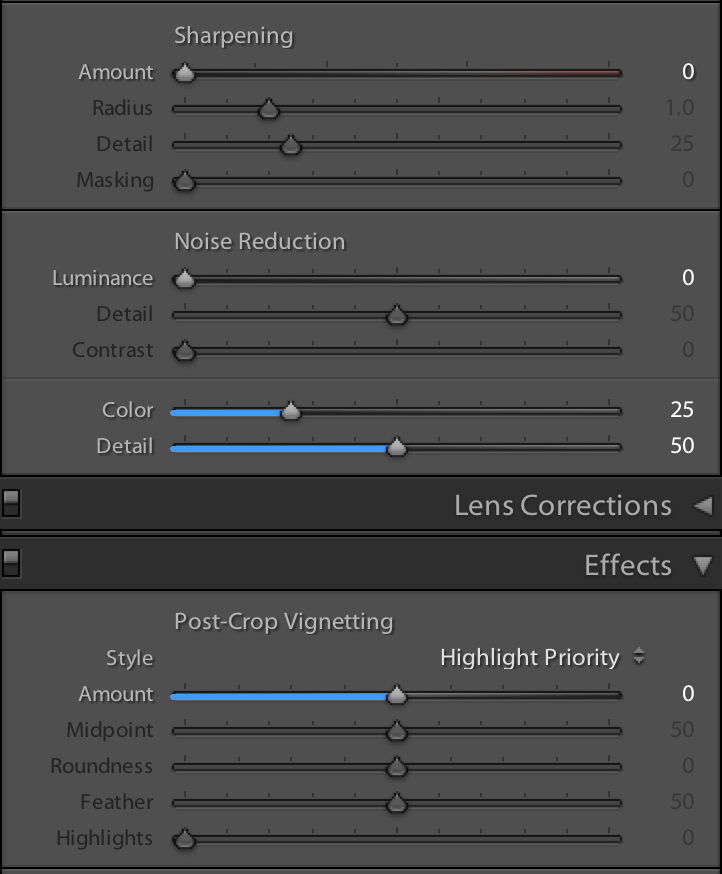
Do you ever wonder what happens after the photo session is all done and I go back home with your images? I thought I would talk to you about one of my favorite topics - Post Production Editing! I first got into the photography business doing post-production, so this is something that is important to me and near to my heart. I first started photography working as a Production Assistant at a company called Tice Photography. I would do all the behind the scenes post production work for the photographer and gained a lot of valuable experience when it comes to editing! So back to the story - After a photography session, I go home with RAW images. RAW images are a digital negative. The information is gathered directly from a camera’s image sensor without any sort of digital adjustment. RAW files carry a lot more information inside them and are more flexible than JPEG images. More information means a little bit more resolution and lots more dynamic range in color – this gives me a lot more flexibility in editing the images. I upload those RAW files to a program called Adobe Lightroom. This program allows me to do all sorts of editing, including the exposure, color balance, tone, saturation, etc. Here is a screenshot of what the program looks like:  Once I have all of the images uploaded, I go through and weed out the bad ones (i.e. eyes closed, someone sneezing, not looking at the camera, etc.). After I have all the great images left, I am able to start the editing process. I do all of this editing in the “Develop” area of Lightroom, Here is what the develop area looks like and some of the items you can edit:
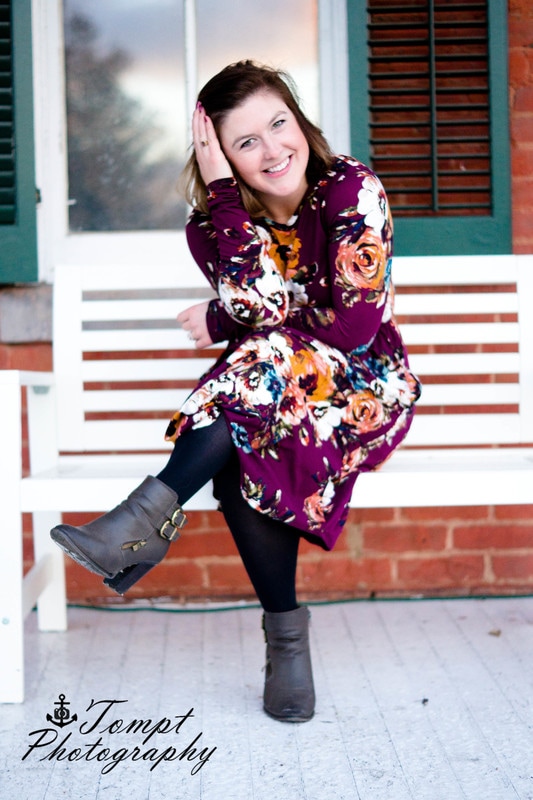
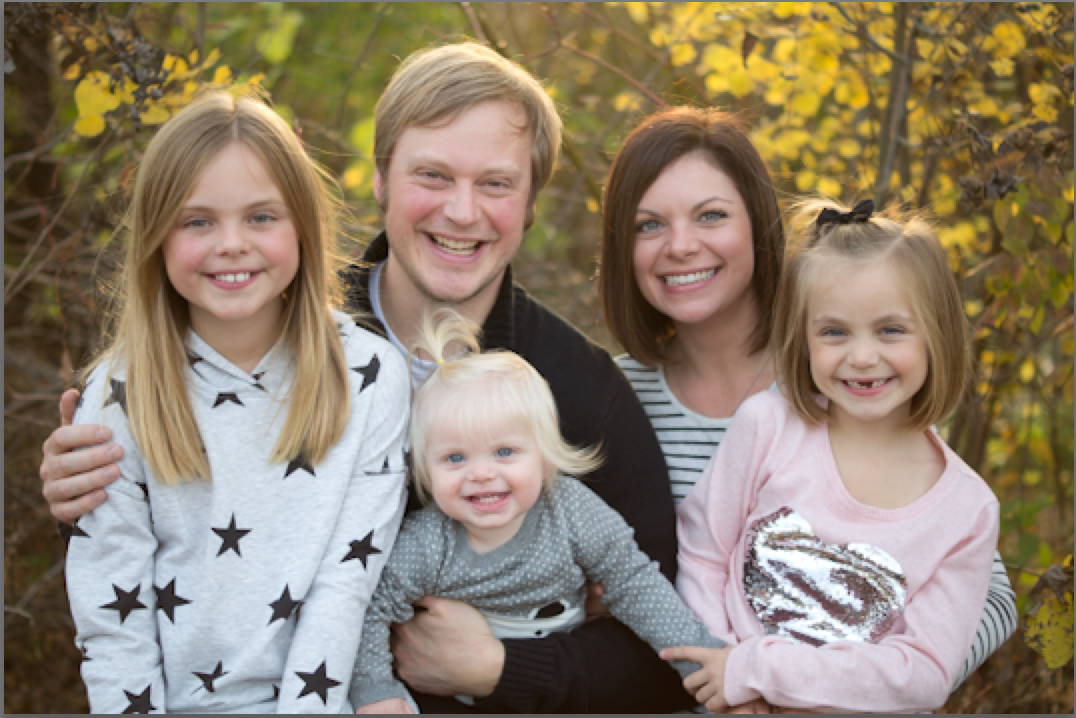
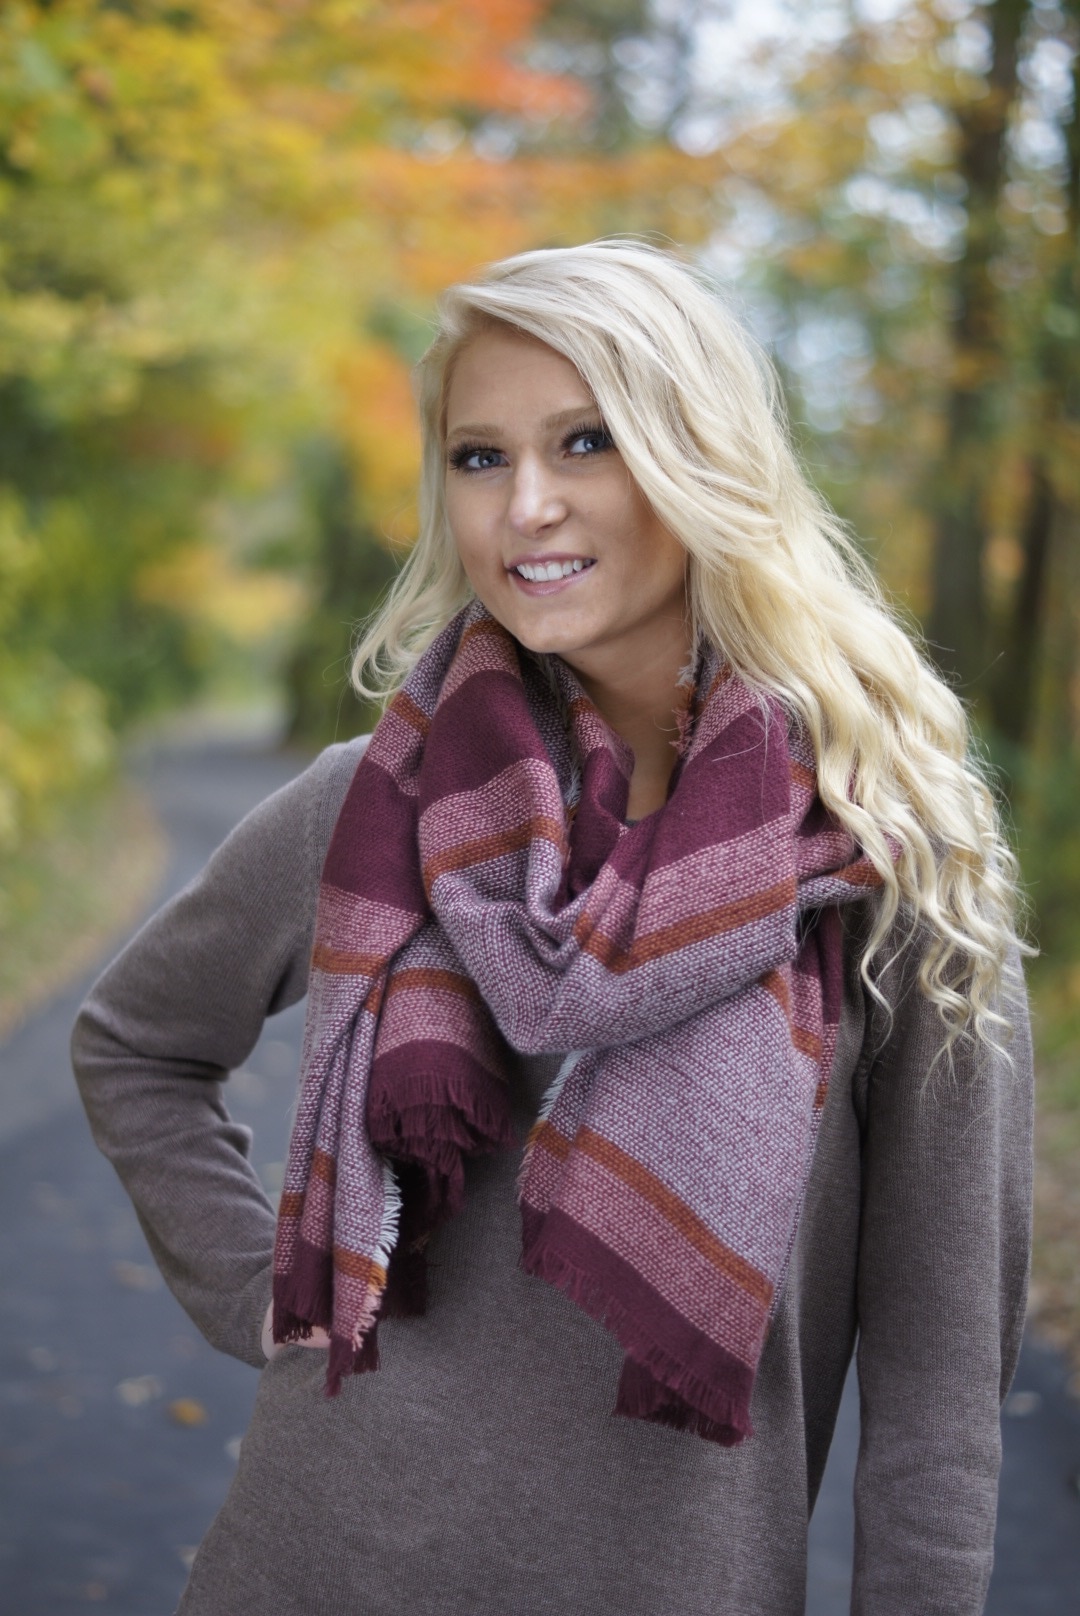
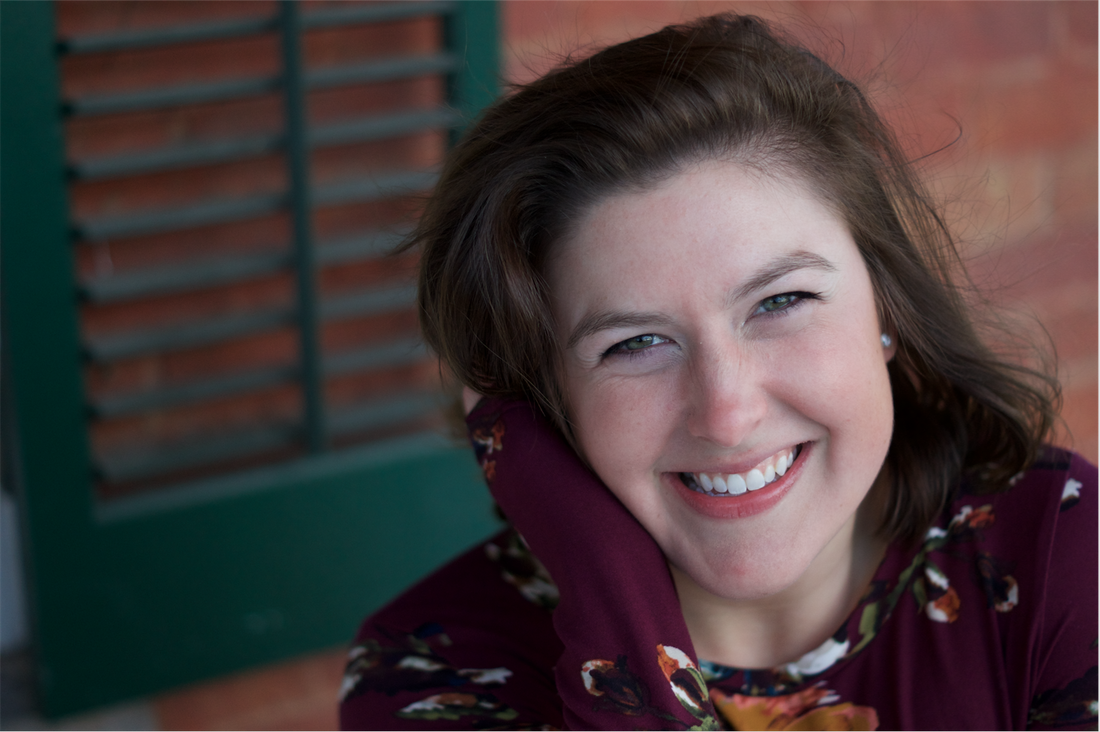
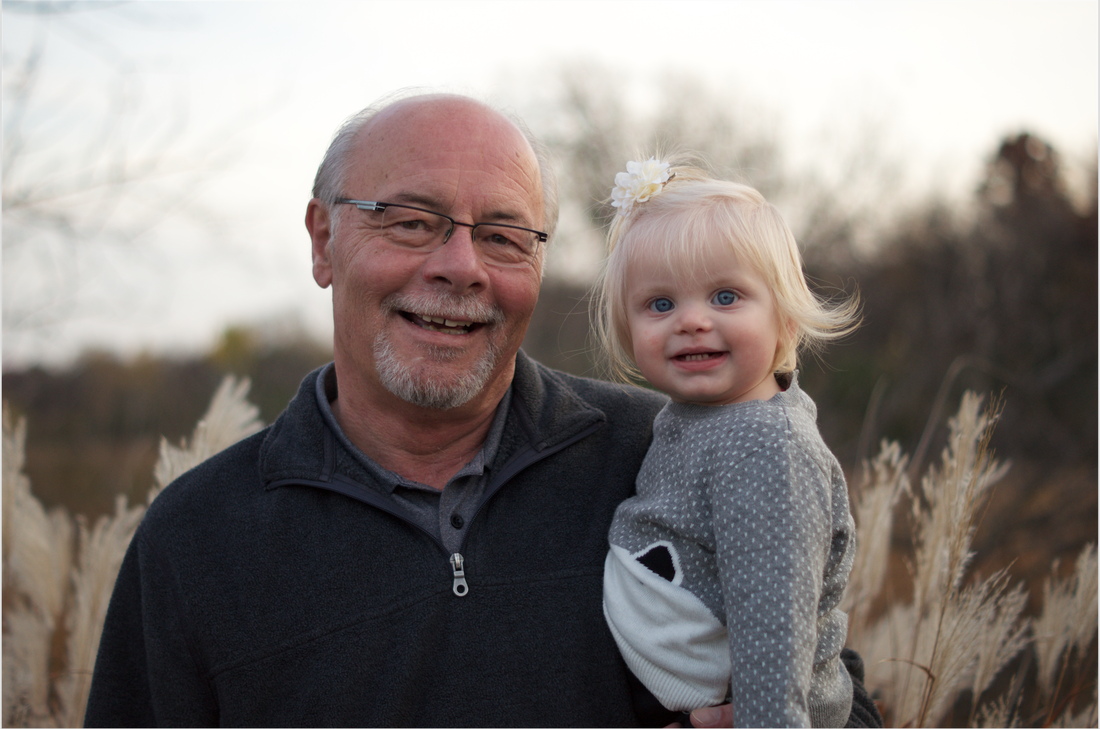
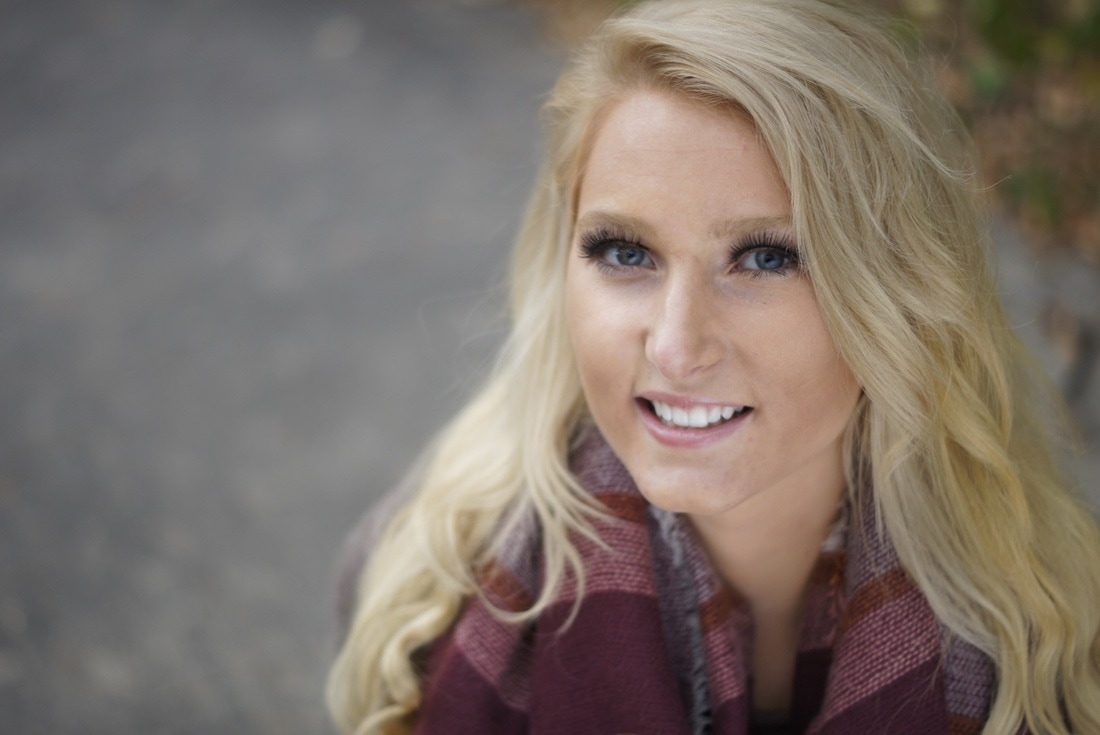
From there, I can adjust the things I mentioned before such as exposure, highlights, tone curve, white balance, saturation, etc. I usually have set numbers or a "recipe" I like to put all of these at and then I edit from there based on what the picture needs. This can take several hours! When all the pictures are edited and ready to go, I am able to export them (as JPEGs as I no longer need the RAW data)! I do use Adobe Photoshop for all of my editing for Enhancements and Touch-Ups - but that is another story! After everything is complete, I get them ready to present! Here are some before and after’s - from the RAW file to the edited Lightroom photo:
As you can see, Lightroom makes a HUGE difference when editing photos and it is my favorite photography tool! Without it, the original RAW images look dull and do not pop out at you. The edited photo looks so much better, right?! As I mentioned before, RAW images give you the capability to do so much to them. My goal as a photographer is to try to make you look as natural as possible, while still looking great! Therefore, I do not get crazy with my editing. I do, however, offer the "Enhancement" add on - where I give you some pictures with different "Filters" on them and B&W images.
There you have it! That is how I create the spectacular images that go to you as my client! I would LOVE to photograph you! If you are interested in setting up a photoshoot, contact me for availability and pricing! Sessions start at $95. Keep Smiling, McKenzie Tompt Tompt Photography |
AuthorMcKenzie Tompt Archives
January 2024
Categories |


 RSS Feed
